Introduction
A non-functional phone charger can be more than just an inconvenience; it can leave you disconnected from the world. Chargers break due to fraying cables, defective ports, or internal wiring issues. This guide provides actionable solutions to restore your charger’s functionality, saving you the hassle and expense of buying a new one.
Identifying the Problem
Understanding the problem is the first step in the repair process. There are a few easy tests you can conduct to determine the source of the issue.
-
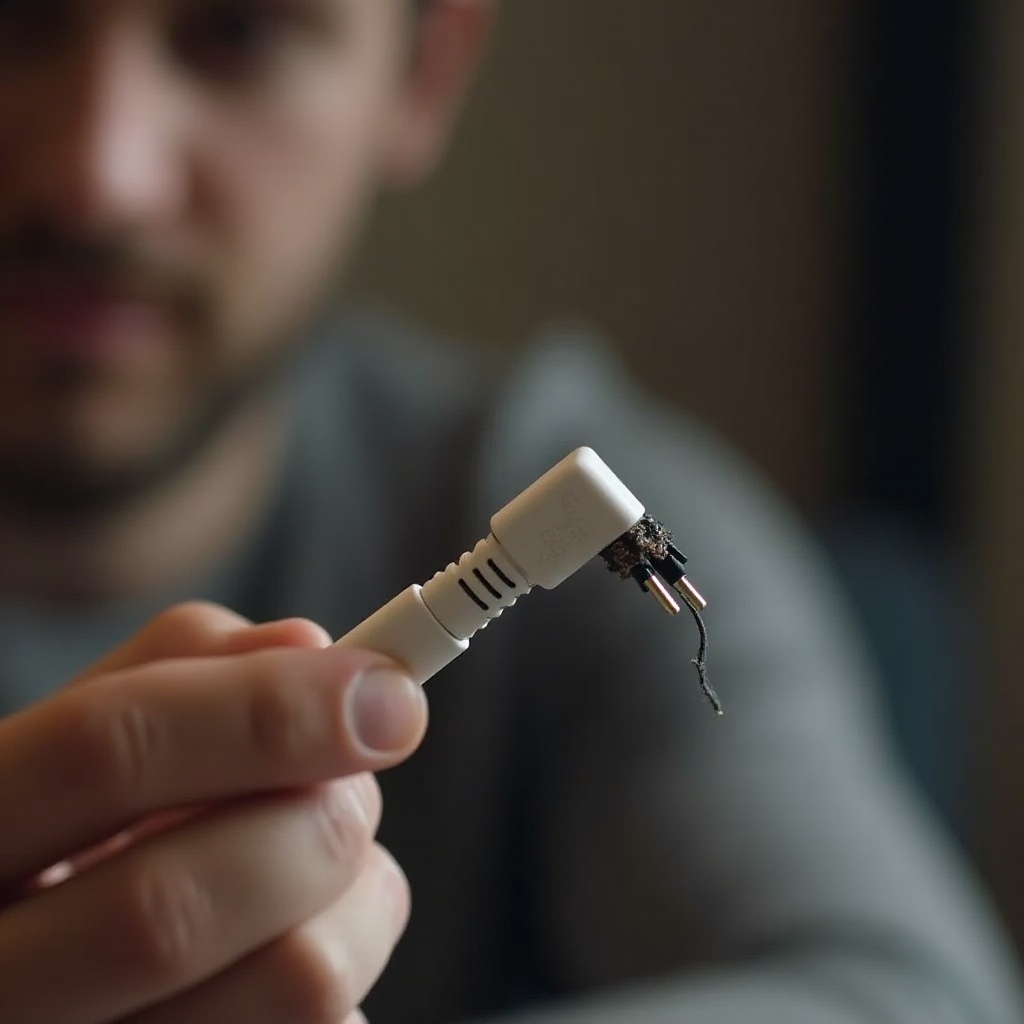
Signs of a Broken Charger: Begin by visually inspecting your charger for frays or exposed wires, bent or missing prongs, and even overheating. This will help you identify any visible damage.
-
Testing with Different Devices: It’s beneficial to test your charger with another device. If the charger functions, your phone may be the issue. Conversely, if the alternative device doesn’t charge, the problem likely lies with the charger.
-
Checking the Power Source: Confirm that the outlet or USB port is functioning. Try different sockets or ports to ensure the fault doesn’t lie outside of the charger itself.
With a clear understanding of the problem, you can move on to straightforward, do-it-yourself solutions.
Simple DIY Fixes
Before you consider discarding your charger, try these simple DIY repairs. They often solve the problem with minimal effort.
-
Cleaning the Charging Port: Dirt and debris can easily accumulate in your charging port, obstructing connectivity. Use a toothpick or compressed air to carefully clean the port without causing damage.
-
Fixing Frayed Cables with Electrical Tape: If your cable shows signs of wear and tear, wrap electrical tape around the affected area. This temporary solution can prevent further damage and maintain functionality.
-
Straightening Bent Pins: Bent charger pins can disrupt the charging process. Straighten them gently using needle-nose pliers. Handle this task with care to avoid breaking the pins.
If these basic fixes aren’t enough, it might be time to employ more advanced troubleshooting techniques.
Advanced Troubleshooting Techniques
Some problems require a deeper dive. Here are a few advanced methods to fix more stubborn issues.
-
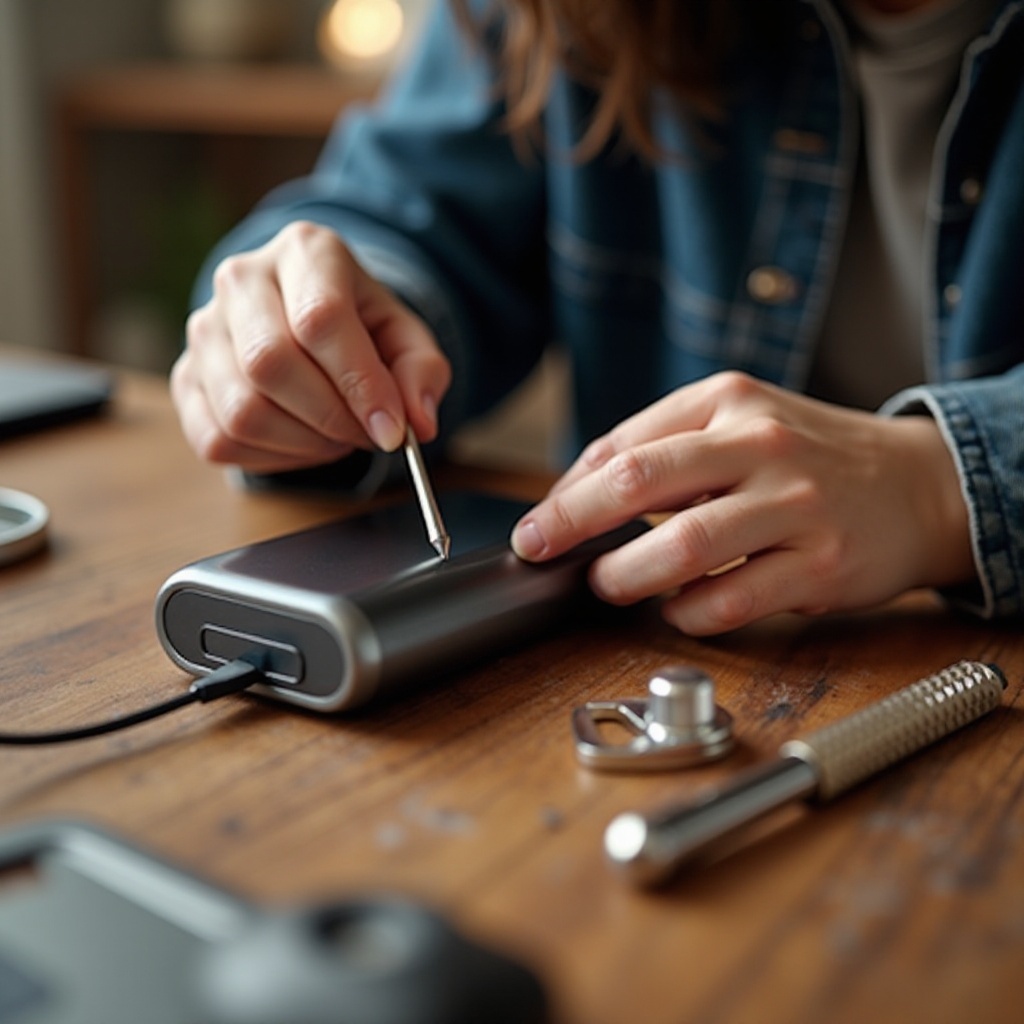
Replacing the Charging Port: If cleaning doesn’t help, it may be necessary to replace the charging port altogether. Purchase a replacement specific to your device and use a screwdriver to carefully replace the defective part.
-
Soldering Broken Wire Connections: With the help of a soldering iron, you can mend any broken wire connections inside the charger. Ensure that you properly insulate the wires after soldering to avoid short circuits.
-
Using a Multimeter to Test Electrical Continuity: Utilize a multimeter to check if the charger conducts electricity properly. Position the multimeter probes on either end of the cable. If there is no reading, the cable might be defective and require replacement.
Once you’ve successfully repaired your charger, it’s crucial to take steps to prevent future issues.
Preventative Measures
By taking care of your charger and using it properly, you can extend its life significantly.
-
Proper Handling and Storage: Do not bend or twist the cable excessively. Store it in a gentle loop instead of tying it in knots or wrapping it tightly.
-
Investing in Quality Chargers: Cheaper chargers can be less reliable and more prone to faults. It’s often worth spending a bit more for a durable and well-reviewed charger from a reputable brand.
-
Routine Maintenance Tips: Regularly check and clean the charging ports and cables to prevent build-up and damage.
Despite your best efforts, some issues may necessitate professional intervention.
When to Seek Professional Help
If your charger continues to malfunction despite all troubleshooting efforts, it’s wise to consult a professional electrician or repair shop. Professionals can diagnose complex electrical problems and ensure your charger works safely and effectively.
Conclusion
Fixing a broken phone charger on your own can be a rewarding experience, providing quick solutions and saving money. By following this guide, you’ve equipped yourself with knowledge and actions to address and prevent charger issues. If complications persist, don’t hesitate to reach out for professional assistance to ensure your device remains in top working condition.
Frequently Asked Questions
How can I tell if my charger is broken or if it’s my phone?
Test the charger with another device. If it charges, your phone may have issues. If not, the problem could be the charger.
Are there risks to fixing my charger myself?
There are potential risks, such as electrical shock or further damage. Following safety measures and instructions can mitigate these risks.
How long should a phone charger typically last?
A good charger can last 1-3 years with proper care and maintenance. Quality chargers may last longer than cheaper alternatives.