Introduction
Experiencing issues with your Xbox disc reader can put a serious damper on your gaming adventures. Fortunately, replacing it doesn’t have to be a daunting task. This guide will take you through understanding your Xbox disc reader, identifying issues, and providing step-by-step instructions to replace it. Let’s ensure your gaming doesn’t skip a beat.
Understanding the Xbox Disc Reader
The Xbox disc reader, or optical drive, is key to accessing your game discs and media. It uses precision technology, including lasers and moving parts, to read and process data from discs. Recognizing the importance of these components helps you appreciate why maintenance and timely replacement can keep your console performing at its best.
An Xbox with a functioning disc reader is central to enjoying uninterrupted gameplay. Problems with the disc reader often manifest as error messages or the inability to read discs. Knowing these signs early can guide you in making an informed decision about replacing the reader.
Causes of Disc Reader Failure
When the disc reader fails, it disrupts the seamless access to your games and media. Various factors contribute to these failures:
- Dust and Dirt Build-up: Dust can accumulate on the lens and internal components, obstructing the laser from reading the disc accurately.
- Mechanical Wear: The constant motion of mechanical parts can lead to wear over time, affecting the disc reader’s performance.
- Laser Lens Degradation: With time and use, the laser lens can degrade, causing difficulty in reading discs.
- Electrical Malfunctions: Failures can also result from issues within the disc drive’s circuitry, leading to operational problems.
Understanding these causes helps you diagnose the problem early and decide on a replacement when necessary. Preparing for replacement ensures you’re equipped to tackle the issue head-on.
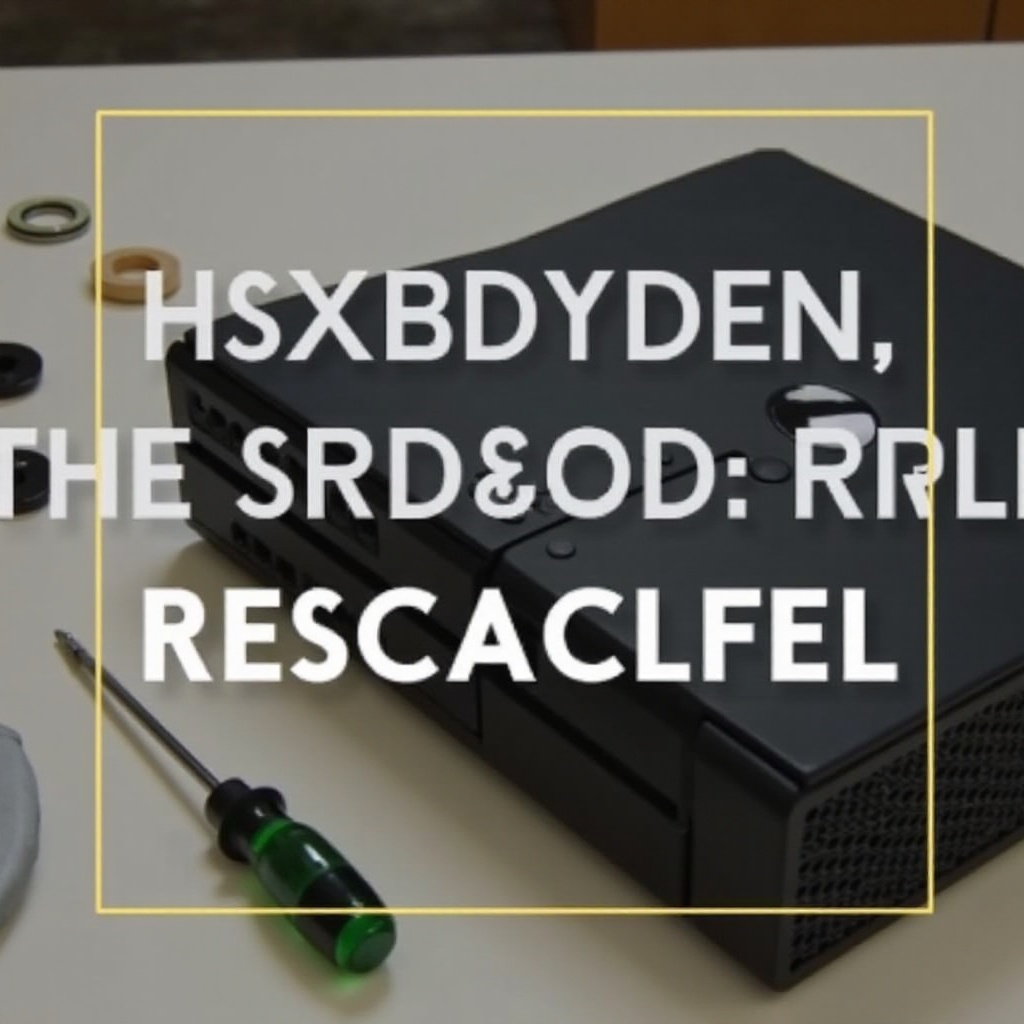
Preparing for Replacement
Before you begin the replacement process, gathering the right tools and taking precautions can make your experience smoother and safer.
Tools and Materials Needed:
– A precision screwdriver set
– A compatible replacement Xbox disc reader
– Anti-static wrist strap (highly recommended)
Safety Precautions:
– Unplug your console and remove any attached cables.
– Set up your workspace on a clean, non-static environment.
– Wear an anti-static wrist strap to avoid damaging sensitive parts.
Having these tools and precautions in place primes you for the actual replacement process, helping you undertake it efficiently and safely.
Step-by-Step Xbox Disc Reader Replacement Guide
Ready to replace the disc reader? Follow these instructions carefully:
- Removing the Outer Casing:
- Use your screwdriver to remove screws securing the outer casing.
-
Gently lift the casing away to expose the internal components.
-
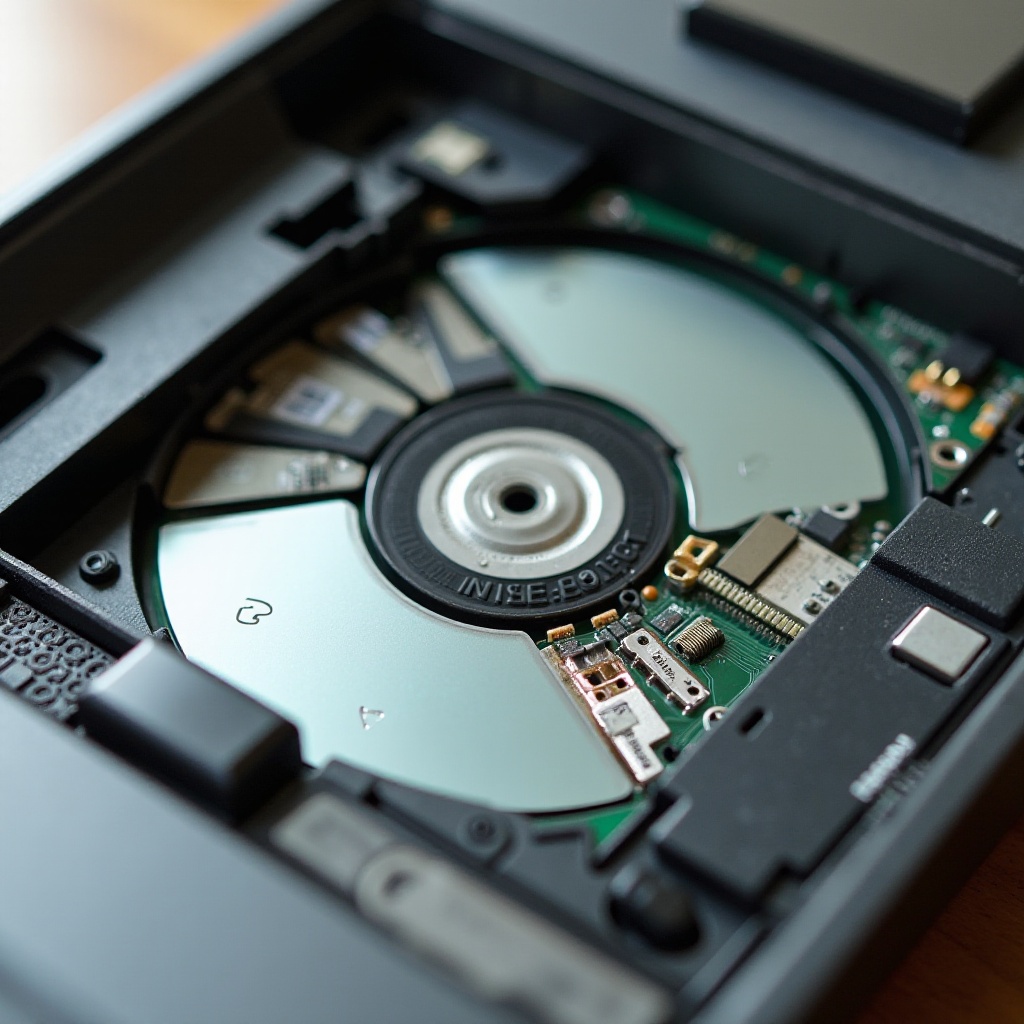
Accessing and Removing the Disc Drive:
- Locate the disc drive and carefully disconnect all cables attached.
-
Unscrew and slide out the drive from its housing.
-
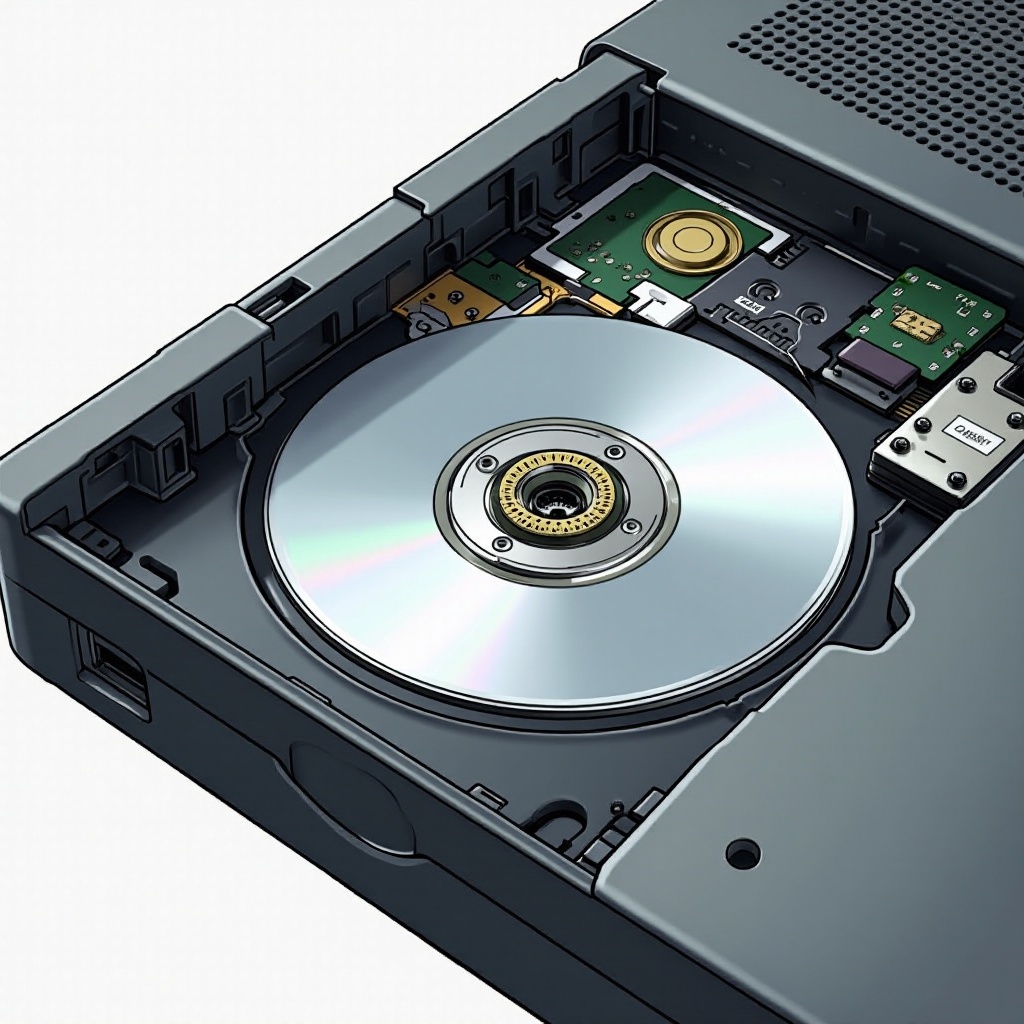
Installing the New Disc Reader:
- Place the new disc reader in the slot and reconnect all cables securely.
-
Tighten the screws to lock the reader into place.
-
Reassembling the Xbox Console:
- Replace the outer casing, ensuring it aligns properly.
- Fasten it with screws to make sure it is secure.
Successful replacement leads to testing to confirm that everything is operating as expected, and addressing any residual issues is next.
Post-Replacement Testing and Troubleshooting
After installation, testing the new disc reader ensures it functions correctly and didn’t encounter any issues during assembly.
- Verification of Functionality:
- Power on your Xbox and insert a known good game disc.
-
Check for smooth operation without unusual noises or errors.
-
Addressing Common Issues:
- If the disc doesn’t read, verify all connections are secure, and the drive is seated properly.
- Reattempt setup if any problems persist, or consult a professional.
Troubleshooting your system post-installation is crucial to identify and correct any lingering issues. Next, let’s discuss maintaining your Xbox disc reader for long-term functionality.
Maintaining Your Xbox Disc Reader
Proper upkeep of your disc reader maximizes its lifespan and functionality.
Optimal Practices for Care:
– Regularly clean the console exterior and ensure airflow to mitigate overheating.
– Gently wipe discs with a lint-free cloth before insertion.
Consistent Maintenance Routines:
– Schedule periodic cleanings to prevent excessive dust accumulation.
– Ensure a general check-up annually to catch any signs of potential problems early.
With these maintenance strategies, your new disc reader will keep delivering top performance. Let’s conclude with a summary of this guide’s key points.
Conclusion
Armed with this guide, replacing your Xbox disc reader becomes an achievable task. By preparing adequately, following each step carefully, and regularly maintaining your console, you ensure optimal gaming performance and longevity. Dive back into your gaming world with confidence and seamless tech support.
Frequently Asked Questions
What should I do if my Xbox disc reader still doesn’t work after replacement?
Double-check all connections and ensure components are fully secured. Consider reaching out to a professional if the problem persists.
How long does it typically take to replace an Xbox disc reader?
The entire replacement process generally takes 1-2 hours, including testing and troubleshooting.
Can a disc reader replacement void my Xbox warranty?
Yes, conducting self-repairs might void your warranty. Check with your warranty provider for specific terms and conditions.